Step 1 - The import

To start the process of conversion start ClearView and when it has finished loading select "Import Model" from the "Settings" menu. This will display an 'Open' dialog box. Navigate to the directory in which you have stored the model for conversion and select the .X file.
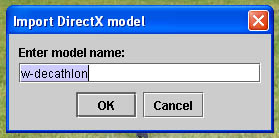
ClearView will then ask for the model name. This is both the name of the model as it will appear on the planes menu as well as the directory name it will store the files under. Type the name exactly as you want it to appear. In this case I will leave it at the default.

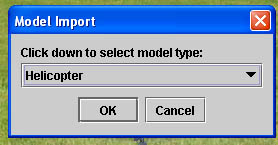
It may be obvious but ClearView can't tell the difference between a helicopter and a plane so you need to tell it. Change it to plane and let it do its stuff.
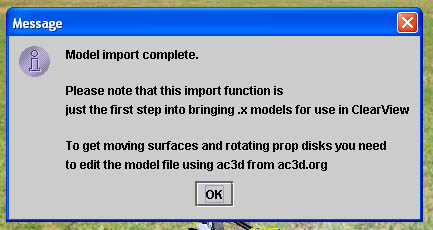
When it's done it displays this message. As it says this is just the start.
Actually at this point it may be flyable in ClearView. If you wish to try you can select it from the planes menu.
It is likely that it will be a funny colour, may be displayed at a funny angle and might be continuously crashing. These are all things we are now going to fix.