Cutting out the rudder
Although the rudder is a simple straight design there are no suitable vertices in the correct position so it is necessary to use a different technique to obtain it.
There is an AC3D add-on tool which will make detaching the rudder easier. It can be found on Dennis Hawthorne's website. You can find details by going to the online forum from the help menu or directly from this URL: http://supercoldmilk.com/ac3dplug/index.html
Look through the page for the 'Knife' add-on (not the Ortho Knife). Download and install it as described in the instructions, there is also a short description of how to use it. I will describe how to use it in relation to obtaining our rudder.
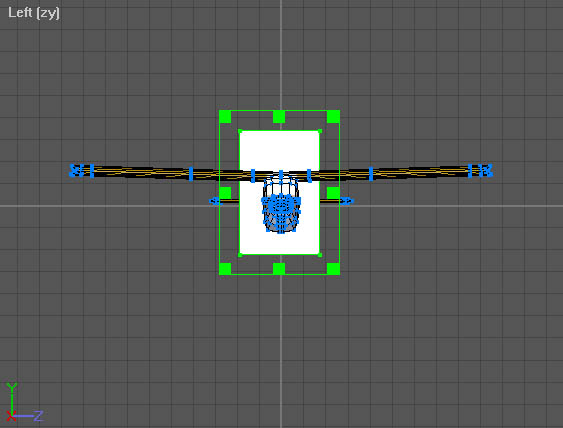
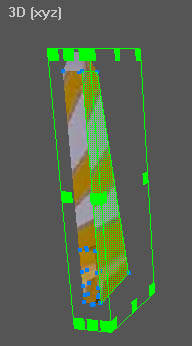
Using object mode, create a rectangle in the left (or right) view. By default it will be created along the z-axis. Move this back towards the position of the rudder and reduce it's width in the 'left' window. It is good practice with a knife to make it just big enough to slice what you want. A knife which is too large sometimes slices other things that you don't want sliced. It can also help to hide the left and right elevators to make it easier to see.
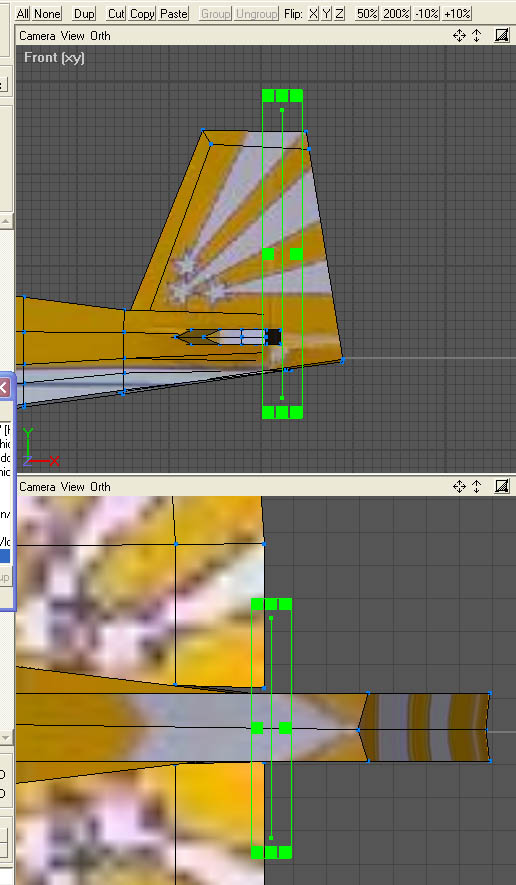
Drag the knife until it is just behind where the elevators join the tailplane. In the picture the elevators have been hidden to make this positioning easier. The knife has also been reduced in size so we can see that is will only cut where we want to cut.
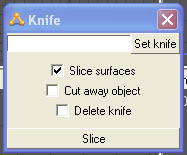
Now display the knife control panel by selecting 'Knife' from the Tools menu.
If the knife is not currently selected ensure that you are in object mode and select it. Now push the 'Set knife' button in the Knife control panel and its name will appear in the panel.
Ensure that all three tick boxes are checked as we want to slice the surfaces, cut away the rudder as a separate object and since we don't need the knife again it can also be deleted.
Now click on the rudder to select the object we wish to slice and push the 'Slice' button on the knife control panel. You can then dismiss the knife control panel.
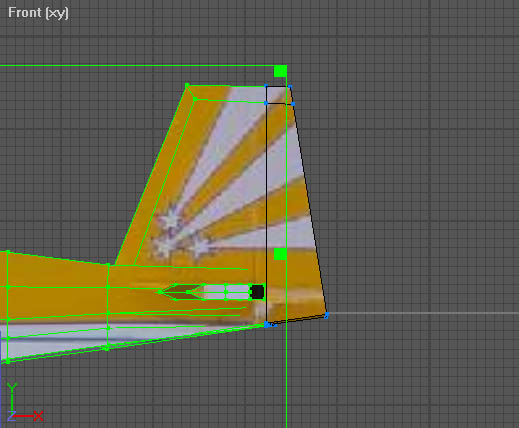
You can now see that the rudder has been cut away and the rest of the model remains selected. The rudder can now be selected and dragged away. This is also a good time to name the object as a rudder.
As with the elevators and ailerons, this has left the rudder and fin with some missing surfaces. Add these surfaces exactly as you did for the ailerons and elevator. Be aware though that in this case there are more vertices and the surfaces are a little more complicated.
When you look at either the rudder or the fin you will see a lot of vertices. Deciding which ones to use to create a surface can be difficult so one tip is to see which vertices are being used on the outside surface.
Switch to surface mode and select one of the outside surfaces. You can see that it goes virtually from top to bottom and which vertices it uses. All the rest inside are left over from chopping the back end off of the plane. If you feel confident you can delete them. If something goes wrong you can used Edit->Undo to correct the mistake.
The rudder only requires three or four surfaces to complete it. The difference depends upon whether you use a four vertex surface or only use triangles (three vertices).
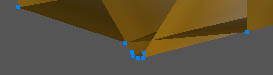
When it is time to add the surfaces to the body you may be left wondering which one you should use. With care you can see that of the group in the middle it is the upper left. But this is not really satisfactory as it leave a small hole. A much better solution here is to merge all the centre vertices into a single vertex.
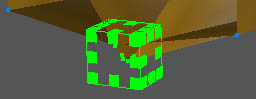
Select all the centre vertices. You can do this in the 3D window by holding Ctrl whilst creating a bounding box around them.
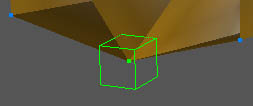
Then select 'Snap Together' from the Vertex menu (Ctrl-T). Not only does this tidy up the back of the fuselage but it also makes it easier to add in the missing surfaces which you can now do as before. Correct any textures if they don't look as you would like them to. Finally, unhide everything and drag the rudder back to its correct position.